Converting from a manual to an automatic transmission involves significant mechanical and electrical work, often costing around $3,100, and requires careful consideration.
While manuals are becoming less common, understanding this swap is valuable for vehicle maintenance and adapting to modern driving preferences.
Overview of the Conversion Process
The conversion fundamentally replaces the existing manual transmission, clutch, flywheel, and related components with an automatic transmission assembly. This includes installing a new torque converter, transmission mount, and shifter mechanism.
Crucially, the process demands attention to the driveshaft length, potentially requiring modification or replacement to ensure proper fitment. Wiring harness integration for the automatic’s control systems is also essential, alongside cooler line installation for temperature regulation. Careful planning and execution are paramount for a successful outcome.
Why Convert? Benefits and Drawbacks
Converting to an automatic offers increased driving ease, particularly in congested traffic, and broader appeal if resale is considered. However, it often diminishes driver engagement and can slightly reduce fuel efficiency.
The swap’s cost, potentially exceeding $3,100, is a significant drawback, alongside the complexity of the installation. While manuals are favored by enthusiasts, an automatic can enhance convenience for daily commuting, making it a practical choice for some drivers.
Assessing Vehicle Compatibility
Determining if your vehicle is suitable requires checking for necessary modifications, ensuring adequate space, and verifying compatibility with automatic components.
Not all vehicles can easily accommodate this transmission swap.
Identifying Suitable Vehicles for Conversion
Selecting the right vehicle is crucial for a successful manual to automatic transmission conversion. Rear-wheel-drive cars generally present fewer complications than all-wheel-drive models due to simpler drivetrain layouts.
Vehicles with ample engine bay and transmission tunnel space are ideal, minimizing the need for extensive modifications. Consider models where others have successfully completed similar swaps, as this indicates available resources and knowledge. The 3000GT is an example where swaps are documented.
Researching online forums and communities can reveal compatibility insights for specific makes and models.
Checking for Necessary Modifications
Thoroughly assess what modifications are needed before starting the conversion. This includes verifying if a new transmission crossmember is required to properly support the automatic transmission.
Inspect the driveshaft length; it likely needs to be altered or replaced to accommodate the different transmission output. Evaluate the shifter cable routing and ensure sufficient space for installation.
Confirm the automatic transmission cooler lines can be routed without interference and that the wiring harness is compatible or can be adapted.
Parts Required for the Conversion
Essential components include the automatic transmission itself, a transfer case, modified driveshaft, shifter assembly, cooler, lines, mounts, and a compatible wiring harness.
Careful selection ensures a smooth and reliable conversion process.
Automatic Transmission Selection
Choosing the right automatic transmission is paramount for a successful conversion. Consider factors like vehicle weight, engine power, and intended use – daily driving versus performance applications.
Research transmissions compatible with your engine and drivetrain. Options range from factory-original units to aftermarket performance automatics. Ensure the selected transmission’s gear ratios complement your vehicle’s final drive ratio for optimal performance.
Don’t overlook the transmission’s condition; a rebuilt or new unit is often preferable to a used one, minimizing potential future issues and ensuring longevity.
Transfer Case and Driveshaft Considerations
Converting to an automatic often necessitates adjustments to the transfer case and driveshaft. Verify compatibility; some automatic transmissions have different mounting points or output shaft splines.
You may need a new or modified driveshaft to accommodate the automatic’s length and ensure proper U-joint angles. Inspect the transfer case for wear and consider a rebuild if necessary;
Proper alignment is crucial to prevent vibrations; professional driveshaft balancing is highly recommended after installation for a smooth and reliable drivetrain.
Transmission Mounts and Crossmembers
Automatic transmissions typically differ in size and mounting configuration compared to manuals, demanding attention to transmission mounts and crossmembers; The existing manual crossmember likely won’t fit, requiring fabrication or purchase of an automatic-specific unit.
New transmission mounts are essential to support the automatic’s weight and dampen vibrations. Ensure proper alignment to avoid stress on the transmission and drivetrain.
Carefully assess the vehicle’s chassis for necessary reinforcement during mount installation for long-term durability.
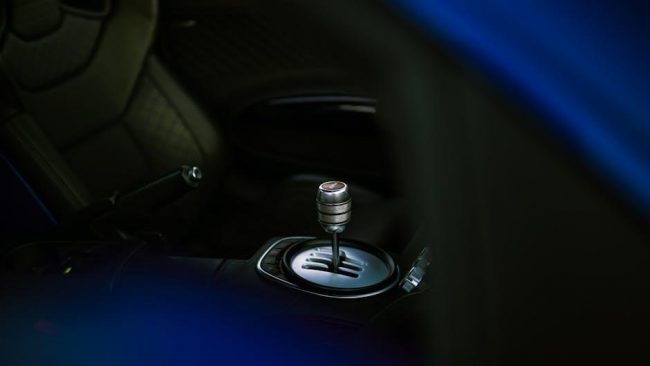
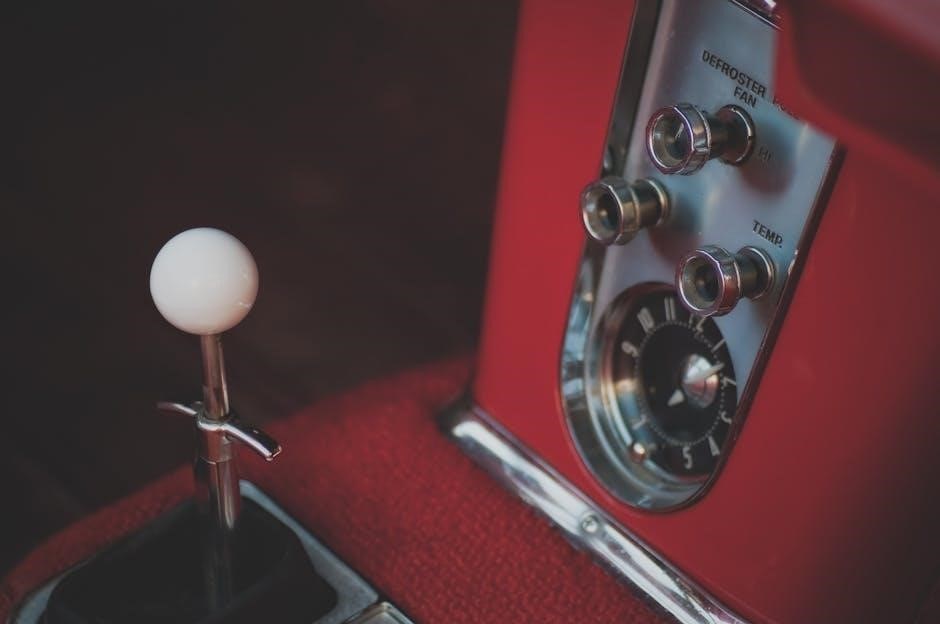
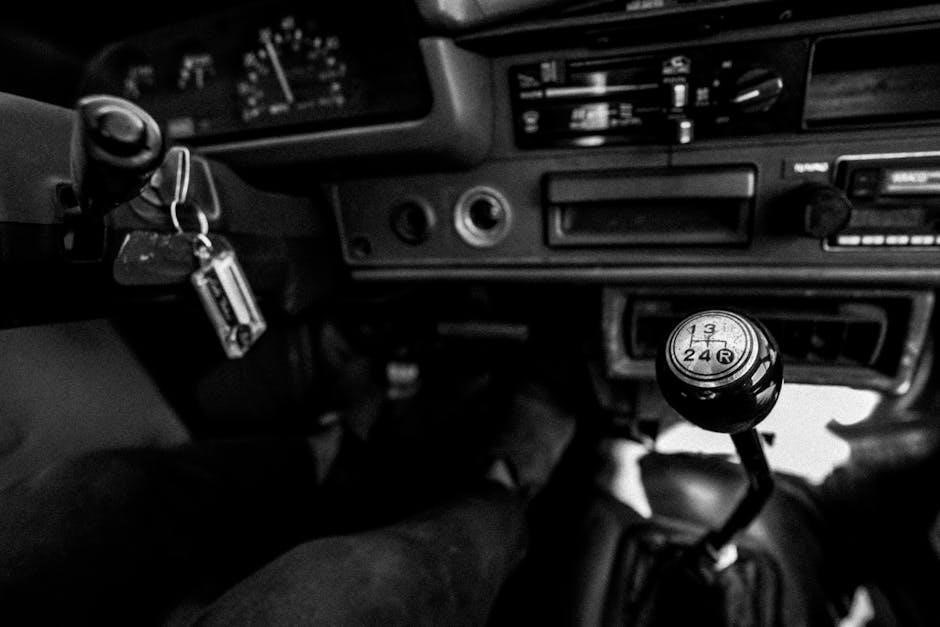
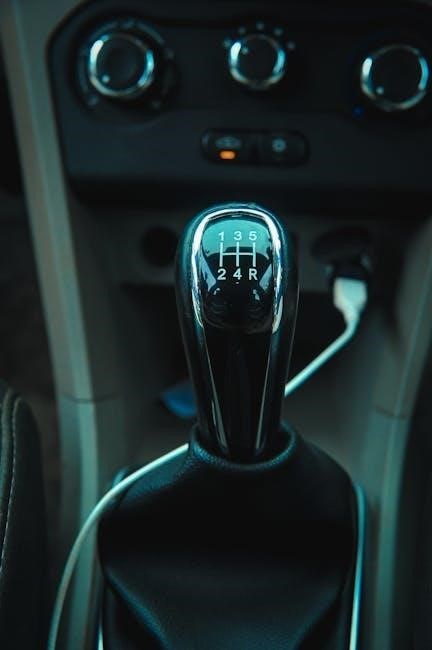
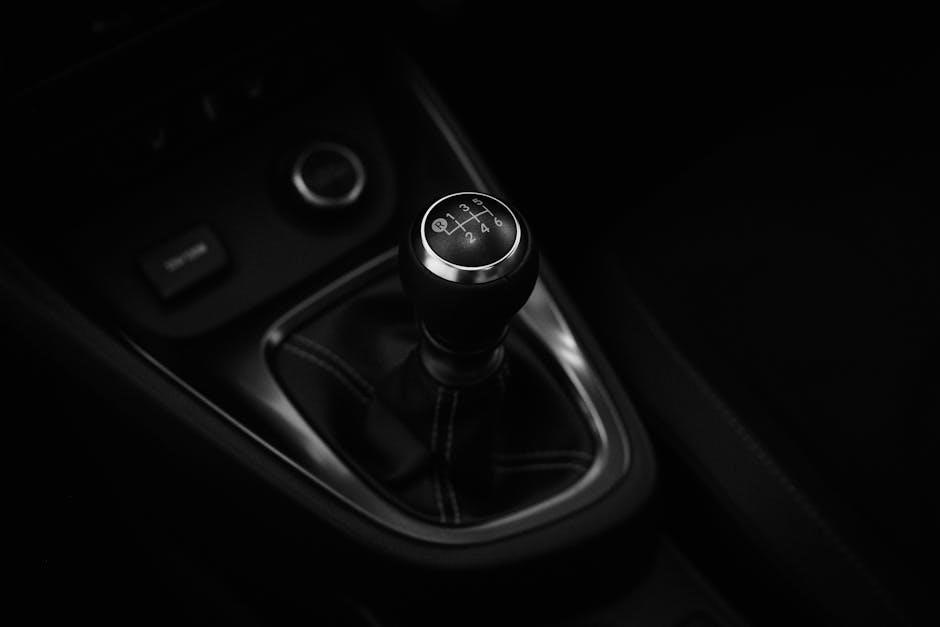
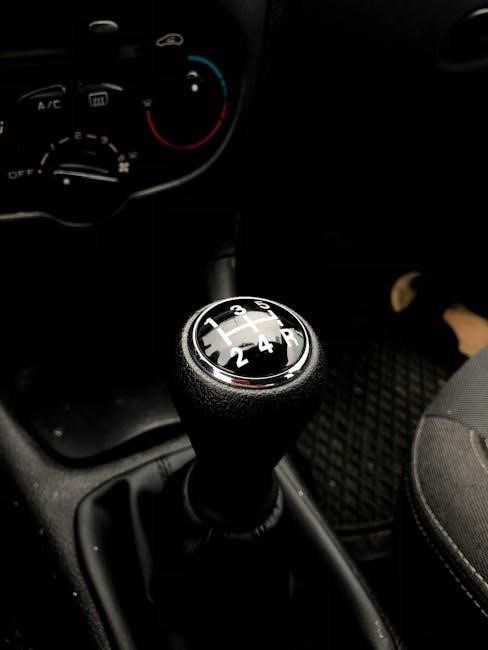
Shifter Assembly and Cables
Removing the manual shifter assembly is straightforward, but installing the automatic shifter requires careful attention to cable routing and bracketry. Automatic shifters utilize cables connecting to the transmission, necessitating proper adjustment for accurate gear selection.
Ensure the shifter cable pathways are clear of obstructions and securely fastened to prevent binding or interference.
Verify the shifter indicator aligns correctly with the selected gear, and test functionality thoroughly before final installation to avoid shifting issues.
Cooling System Components (Lines, Cooler)
Automatic transmissions generate substantial heat, demanding a dedicated cooling system. This involves installing transmission cooler lines running from the transmission to a separate cooler, often mounted near the radiator.
Proper line routing is crucial to prevent damage from road debris or engine components.
Ensure the cooler is adequately sized for the vehicle’s application and that all connections are leak-free. Regularly inspect the lines and cooler for any signs of wear or damage.
Wiring Harness and Control Modules
Automatic transmissions require a complex wiring harness and often a Transmission Control Module (TCM) to function correctly. This involves connecting sensors, solenoids, and the gear selector to the TCM, which then controls shifting operations.
Compatibility is key; ensure the TCM is designed for your vehicle and transmission.
Carefully integrate the new wiring with the existing vehicle harness, paying attention to power, ground, and signal connections. Diagnostic tools are essential for troubleshooting any electrical issues.
Tools and Equipment Needed
Successful conversion demands specialized tools like transmission jacks, socket sets, and diagnostic scanners. A floor jack, jack stands, and hand tools are also crucial for this process.
Specialized Tools for Transmission Removal
Removing a transmission, whether manual or automatic, necessitates specific tools beyond standard mechanics sets. A transmission jack is paramount, safely supporting the weight during removal and installation.
Impact wrenches expedite bolt removal, while specialized sockets, including E-Torx, are often required. A pry bar set assists in breaking the transmission free from its mounts. Furthermore, a torque wrench is essential for proper re-installation, ensuring correct clamping forces. Don’t forget wheel chocks and safety glasses!
Diagnostic Tools and Scanners
Post-conversion, a quality OBD-II scanner is crucial for reading and clearing diagnostic trouble codes (DTCs) generated by the new automatic transmission and related systems.
Advanced scanners can access transmission control module (TCM) data, aiding in troubleshooting. A multimeter is essential for verifying electrical connections and sensor functionality. Furthermore, a wiring diagram specific to your vehicle is invaluable for tracing circuits and identifying potential issues. Proper diagnostics ensure a smooth and reliable operation.
Step-by-Step Conversion Guide
Begin by removing the manual transmission, then carefully install the automatic, connecting the shifter and cables. Finally, complete wiring and cooling system installations.
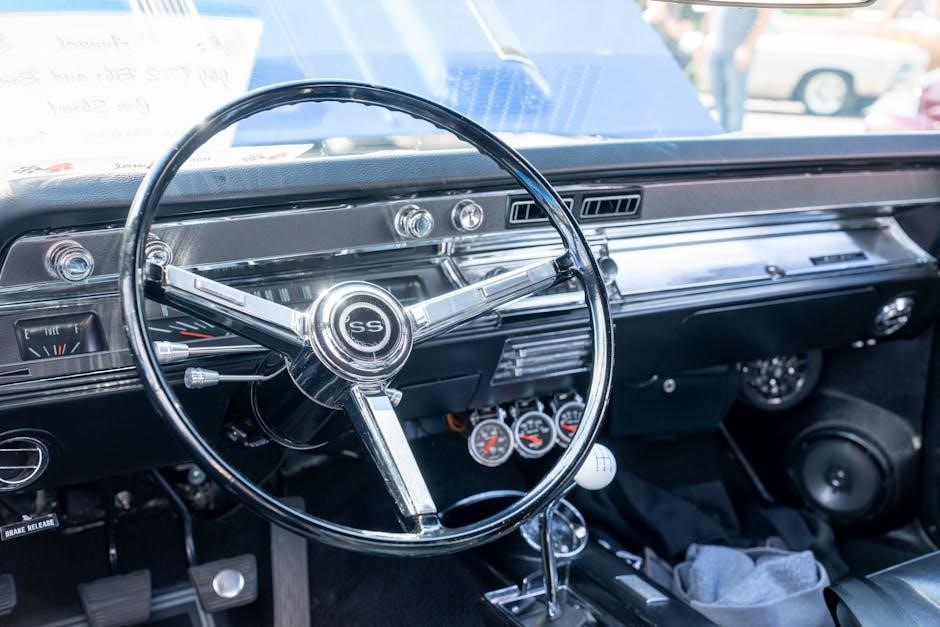
Removing the Manual Transmission
Begin by disconnecting the driveshaft, shifter linkage, and all wiring connected to the manual transmission. Support the engine from above to prevent it from tilting during removal.
Carefully unbolt the transmission from the engine, ensuring all bolts are removed before attempting to separate the two components. Lower the manual transmission slowly and safely using a transmission jack, being mindful of weight and potential obstructions.
Inspect the flywheel and clutch assembly for wear and replace if necessary before proceeding with the automatic transmission installation.
Installing the Automatic Transmission
Carefully align the automatic transmission with the engine and gently push it into place, ensuring it seats fully against the engine block. Install and tighten all mounting bolts to the manufacturer’s specified torque.
Connect the torque converter to the flexplate, verifying proper alignment before securing it with the appropriate bolts. Double-check all connections, ensuring no bolts or hardware are missing.
This step is crucial for a secure and reliable installation, setting the stage for subsequent component connections.
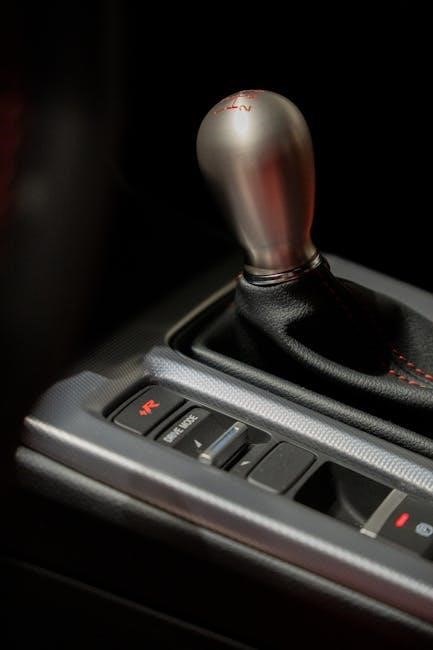
Connecting the Shifter and Cables
Install the automatic transmission shifter assembly within the vehicle’s cabin, securing it firmly to the floor console or designated mounting location. Connect the shift cables, ensuring they snap securely into place on both the shifter and transmission ends.
Verify smooth and accurate gear selection throughout the entire range. Adjust cable tension as needed to achieve precise shifting. Proper cable routing is vital to prevent binding or interference.
Confirm full functionality before proceeding, as incorrect installation impacts drivability.
Wiring and Electronic Connections
Connect the automatic transmission’s wiring harness to the vehicle’s electrical system, integrating it with the control modules. This includes power, ground, and communication wires for functions like torque converter lockup and gear position sensing.
Ensure all connections are secure and properly insulated. Utilize a wiring diagram specific to your vehicle and transmission. Diagnostic tools may be needed to verify proper communication and clear any error codes.
Incorrect wiring can cause transmission malfunctions.
Cooling System Installation
Automatic transmissions generate significant heat, necessitating a dedicated cooling system. Install transmission cooler lines, routing them safely away from exhaust components and moving parts. Connect these lines to an external transmission cooler, often mounted in front of the radiator.
Proper cooling prevents overheating and extends transmission life. Ensure all connections are leak-free and use transmission-specific fluid. Verify adequate airflow to the cooler for optimal performance.
Neglecting cooling can lead to premature failure.

Cost Breakdown
Conversion costs range from approximately $3,100 for labor, plus the price of parts – transmission, cooler, fluids, and potentially unforeseen expenses during installation.
Parts Costs
Automatic transmission costs vary widely, ranging from $800 to $3,000 depending on condition and source – new, rebuilt, or used. A transmission cooler, essential for preventing overheating, typically costs between $100 and $300.
Additional expenses include transmission fluid ($50-$100), a new shifter assembly ($150-$400), and potentially a modified driveshaft ($200-$600) if length adjustments are needed. Don’t forget the cost of lines and fittings for the cooling system, averaging around $100-$200.
Labor Costs (If Applicable)
Professional installation of an automatic transmission can range significantly, typically between $800 and $1,500, depending on the shop’s hourly rate and the vehicle’s complexity. This cost covers transmission removal, installation, and connection of all necessary components.
Expect additional labor charges for wiring harness modifications, cooler line routing, and diagnostic testing, potentially adding $200-$500 to the total. If a driveshaft modification is required, factor in another $100-$300 for that specific task.
Potential Unexpected Expenses
Conversion projects often reveal hidden issues. Damaged or corroded fuel lines, brake lines, or undercarriage components may require replacement, adding $100-$500 to the budget. Unexpected electrical gremlins, like faulty sensors or wiring, can necessitate diagnostic time and repairs, costing $150-$400.
Furthermore, unforeseen parts compatibility problems might demand custom fabrication or specialized adapters, potentially increasing expenses by $200-$600. Always allocate a contingency fund of at least 10-15% for these unforeseen circumstances.
Potential Challenges and Solutions
Conversion can present electrical issues and mechanical fitment problems; careful wiring diagrams and test fits are crucial for successful resolution.
Drivetrain vibration may require balancing, ensuring a smooth and reliable driving experience post-swap.
Electrical Issues and Troubleshooting
Automatic transmissions require intricate electronic control, often presenting wiring challenges during a conversion. Mismatched or incorrectly connected wiring harnesses can lead to erratic shifting, warning lights, or even complete transmission failure.
Troubleshooting involves meticulously reviewing wiring diagrams, verifying power and ground connections, and utilizing diagnostic scanners to identify fault codes. Compatibility with the vehicle’s computer (ECU) is paramount; sometimes, a new control module or reprogramming is necessary to ensure seamless integration and optimal performance.
Carefully inspect all connections for corrosion or damage, and consider using a multimeter to test continuity and voltage.
Mechanical Fitment Problems
Converting to an automatic transmission often reveals unexpected mechanical fitment issues. The automatic may differ in length or mounting points compared to the original manual, requiring custom transmission mounts or crossmembers.
Driveshaft compatibility is crucial; the automatic’s different output speed may necessitate a modified or entirely new driveshaft. Ensuring proper alignment is vital to prevent vibrations and premature wear.
Clearance issues with the floor pan or exhaust system are also common, potentially requiring modifications to accommodate the larger automatic transmission.
Drivetrain Vibration and Balancing
Automatic transmission conversions can introduce drivetrain vibration due to altered rotational mass and speed. A mismatched or improperly balanced driveshaft is a primary culprit, causing oscillations felt throughout the vehicle.
The automatic’s torque converter differs from a manual clutch’s solid connection, potentially amplifying existing imbalances. Thoroughly inspect and balance the driveshaft, and consider a new flexplate.
Proper alignment of all drivetrain components is essential; even slight misalignments can exacerbate vibrations, leading to premature wear and potential damage.
Post-Conversion Checks and Adjustments
After the conversion, verify fluid levels, adjust the shifter for precise engagement, and perform a comprehensive test drive with diagnostic scanning.
Ensure smooth operation and address any issues promptly for optimal performance and longevity.
Fluid Level Checks
Following the automatic transmission installation, meticulously checking the fluid level is paramount for proper operation and preventing damage. Locate the transmission dipstick, typically marked with specific instructions for checking while the engine is running and warm.
Ensure the vehicle is on a level surface. Add or remove fluid as needed to reach the designated “full” mark. Incorrect fluid levels can lead to slipping, overheating, or premature wear. Regularly monitor the fluid condition for discoloration or unusual smells, indicating potential issues requiring attention.
Shifter Adjustment
Precise shifter adjustment is crucial for smooth and accurate gear selection after a manual to automatic conversion. Begin by verifying the shifter cable connections are secure and properly aligned with the transmission linkage.
Adjust the cable tension to ensure each gear position is reached cleanly, without binding or excessive play. Test each gear, including Park and Reverse, confirming positive engagement. Fine-tune the adjustment until shifts are crisp and effortless, providing a comfortable driving experience.
Test Drive and Diagnostics
Following the conversion, a thorough test drive is essential to validate proper functionality. Monitor for any unusual noises, vibrations, or slipping during gear changes. Utilize a diagnostic scanner to check for transmission-related trouble codes, addressing any issues promptly.
Pay close attention to fluid temperature and level, ensuring the cooling system operates effectively. Confirm smooth engagement in all gears, verifying the shifter adjustment and overall drivetrain performance are optimal for a safe and reliable driving experience.

Legal and Safety Considerations
Ensure the conversion complies with local regulations and inspection requirements. Prioritize safe installation practices, verifying all connections are secure and functioning correctly.
Proper installation is crucial for vehicle safety and legal operation on public roads.
Local Regulations and Inspections
Before undertaking a manual to automatic transmission conversion, thoroughly research local and state vehicle modification laws. Many jurisdictions require inspections to ensure modifications meet safety standards and emissions regulations.
These inspections often verify proper installation of all components, including the transmission, wiring, and cooling systems. Failure to comply with these regulations can result in fines, or the vehicle being deemed unfit for road use.
Contact your local Department of Motor Vehicles (DMV) or equivalent agency to confirm specific requirements for transmission swaps in your area.
Ensuring Safe Installation Practices
Prioritize safety throughout the manual to automatic transmission conversion process. Utilize jack stands rated for your vehicle’s weight, and disconnect the battery to prevent electrical shorts.
Double-check all connections – wiring, fluid lines, and mounting hardware – to prevent leaks or failures. Proper torque specifications are crucial for secure component attachment.
If unfamiliar with complex automotive work, consider professional installation to guarantee a safe and reliable outcome, minimizing potential risks during operation.
Resources and Support
Online forums and professional services offer valuable assistance for manual to automatic transmission conversions, providing expertise and guidance throughout the process.
Access communities for troubleshooting and consider expert installers for complex aspects of the swap.
Online Forums and Communities
Engaging with online forums dedicated to automotive modifications and specifically, transmission swaps, is incredibly beneficial. These platforms host a wealth of knowledge from individuals who have already undertaken similar conversions.
Communities provide a space to ask questions, share experiences, and receive advice on troubleshooting potential issues. Searching existing threads can often reveal solutions to common problems encountered during a manual to automatic transmission conversion.
Look for forums specific to your vehicle make and model for the most relevant information and support. Active participation can significantly streamline your project.
Professional Installation Services
Considering professional installation is prudent, especially given the complexity of a manual to automatic transmission conversion. Experienced mechanics possess the necessary tools, expertise, and knowledge of vehicle-specific nuances.
Shops specializing in transmission work can accurately assess compatibility, source correct parts, and ensure proper installation, minimizing potential issues. While costing more upfront – estimates range around $3,100 – it reduces risk.
Professional services offer peace of mind and often include warranties, safeguarding against future complications. Obtain quotes from multiple shops and verify their experience with similar conversions.